Getting the body ready for the shiny stuff
This is where things start to begin to get really serious. Not to say that the previous steps haven’t been. As was mentioned in part 6, the metalwork is the foundation for everything after that but no panels are perfect. As good as the aftermarket panels are, they still have to be fitted to 50-60-year-old bodies. Plus, those 60’s, and 70’s (and beyond) body shells are not what they once were when they rolled down the line to be painted.
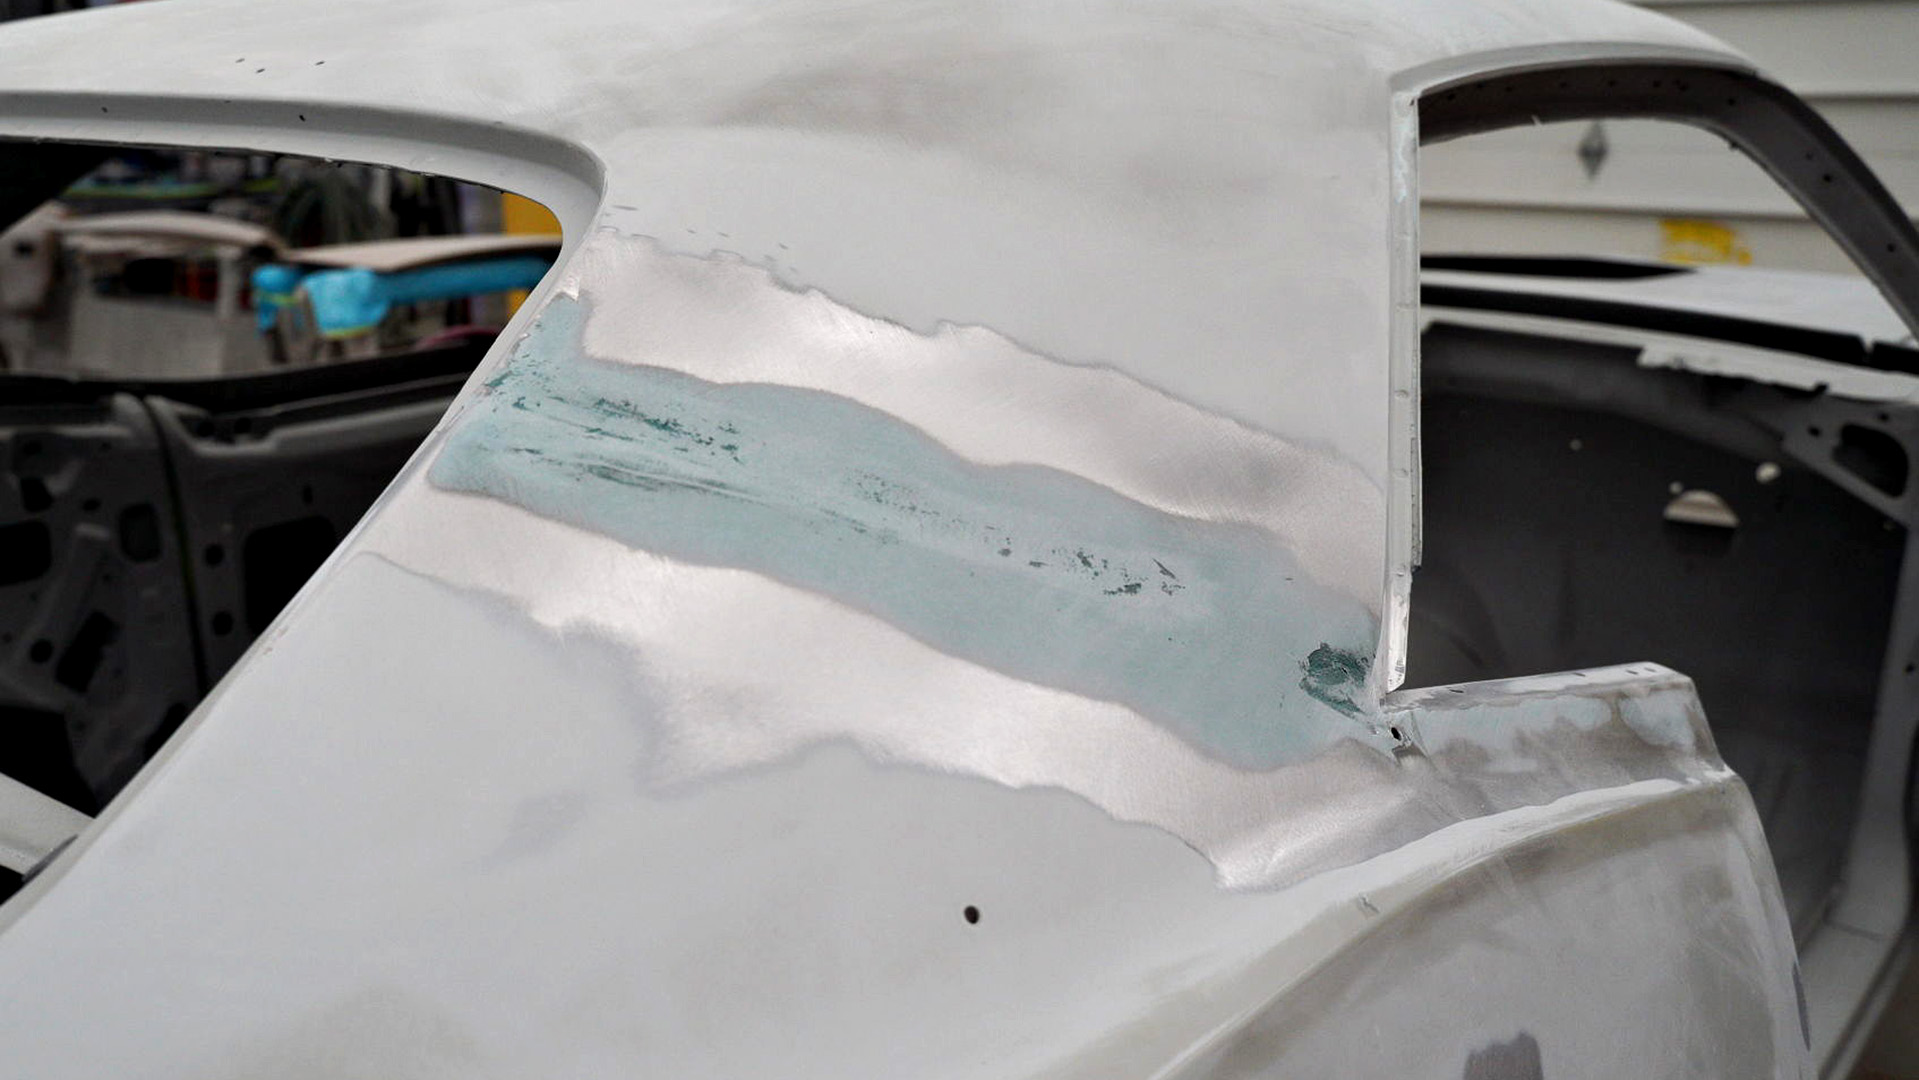
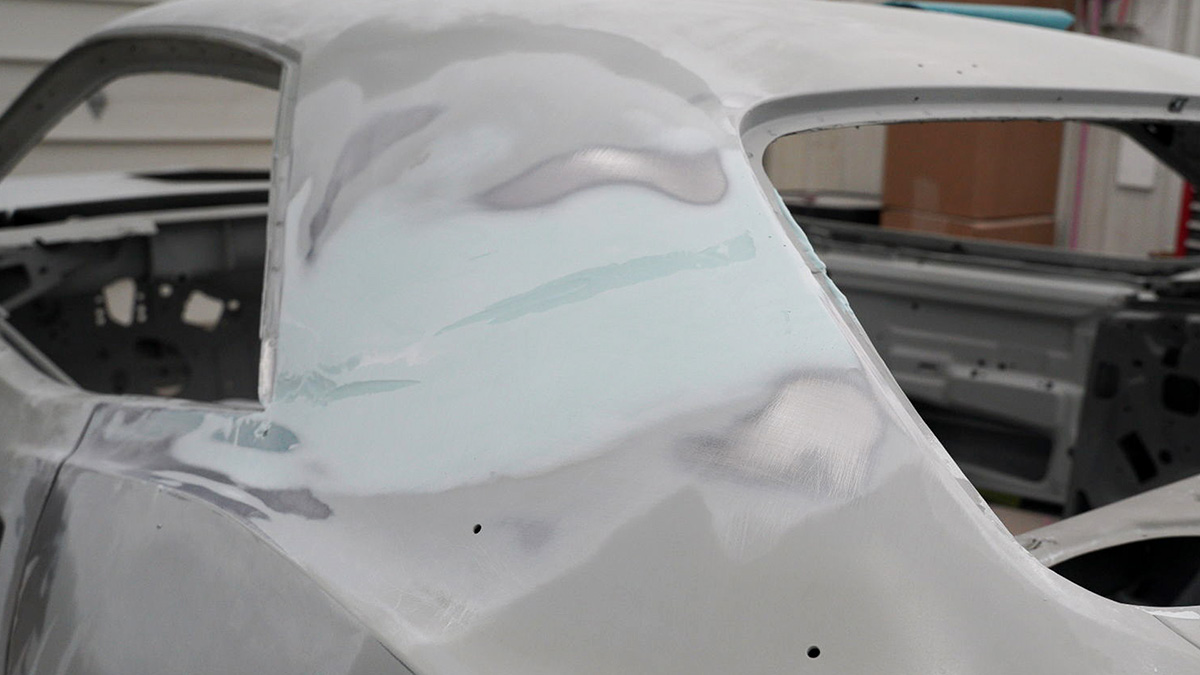
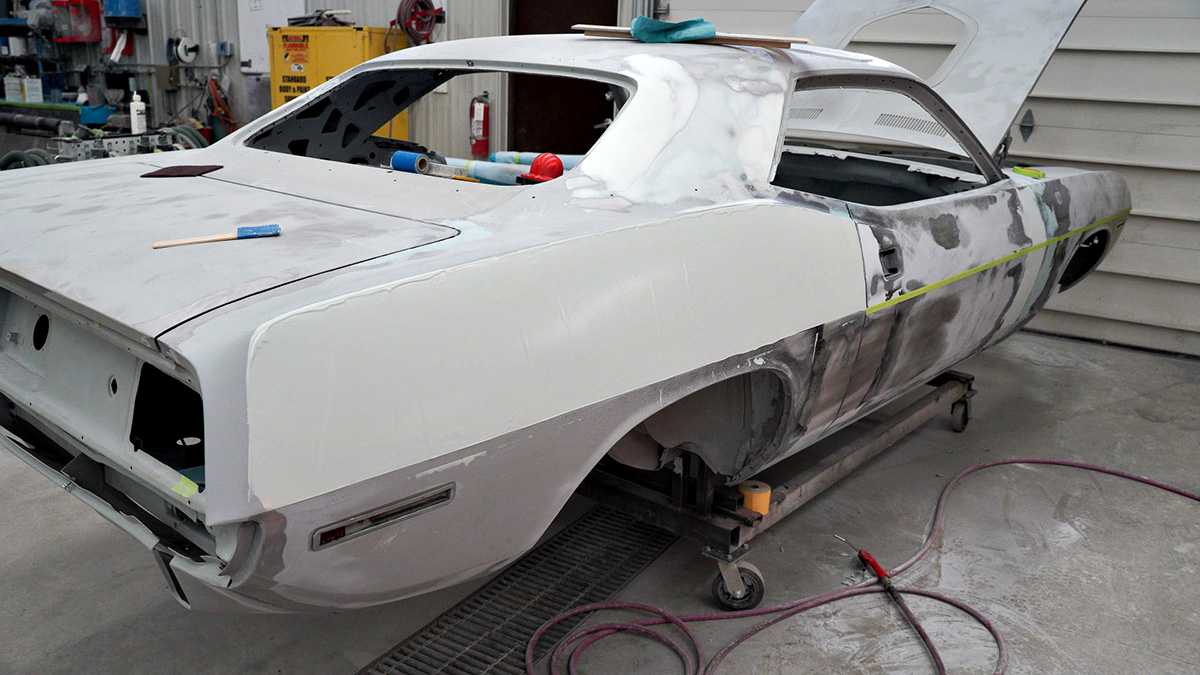
There are always minor imperfections that usually won’t show up until something really shiny is applied to them and that’s when you can’t not see them. The solution is proper finish bodywork. As mentioned in part 6, body work is never used to cover up bad sheet metal but rather to make sure that everything is absolutely flat and arrow straight so that when you look down the side of a panel there is not a single ripple in the surface must less a wave.
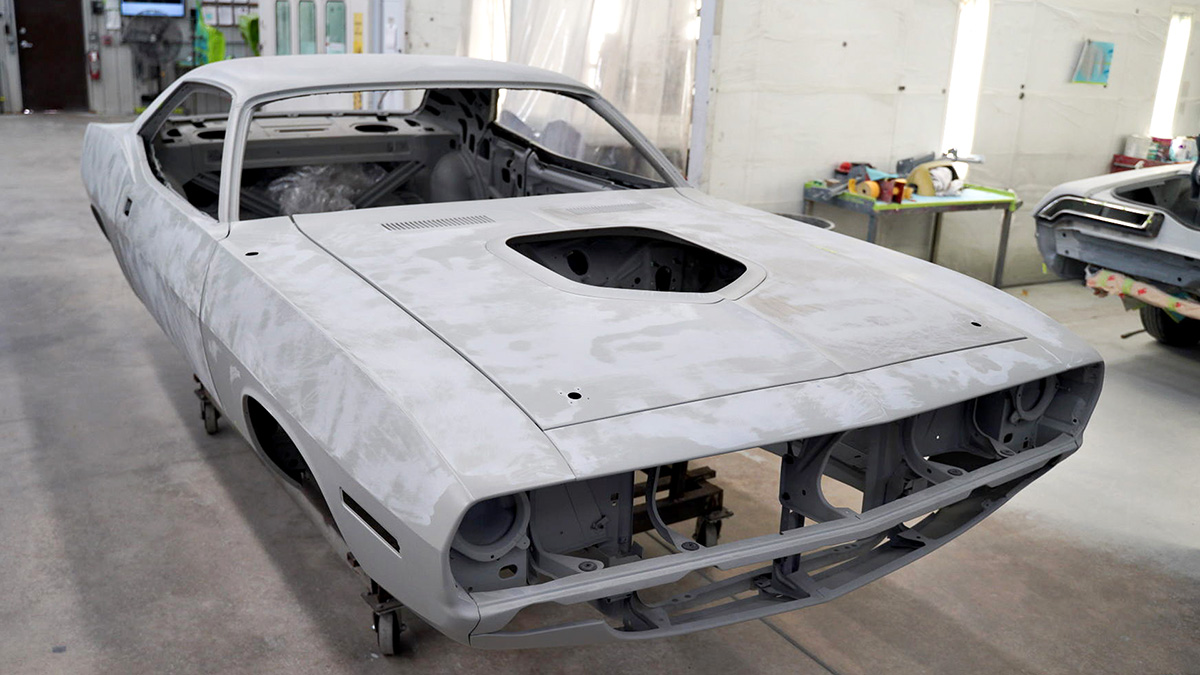
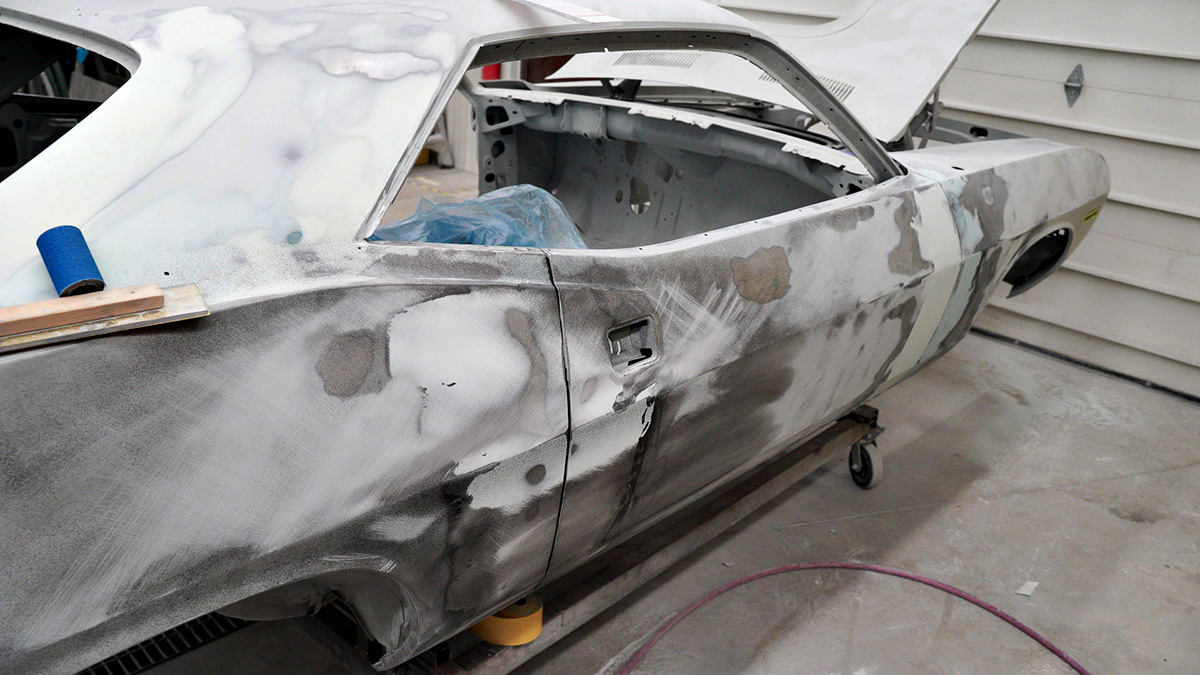
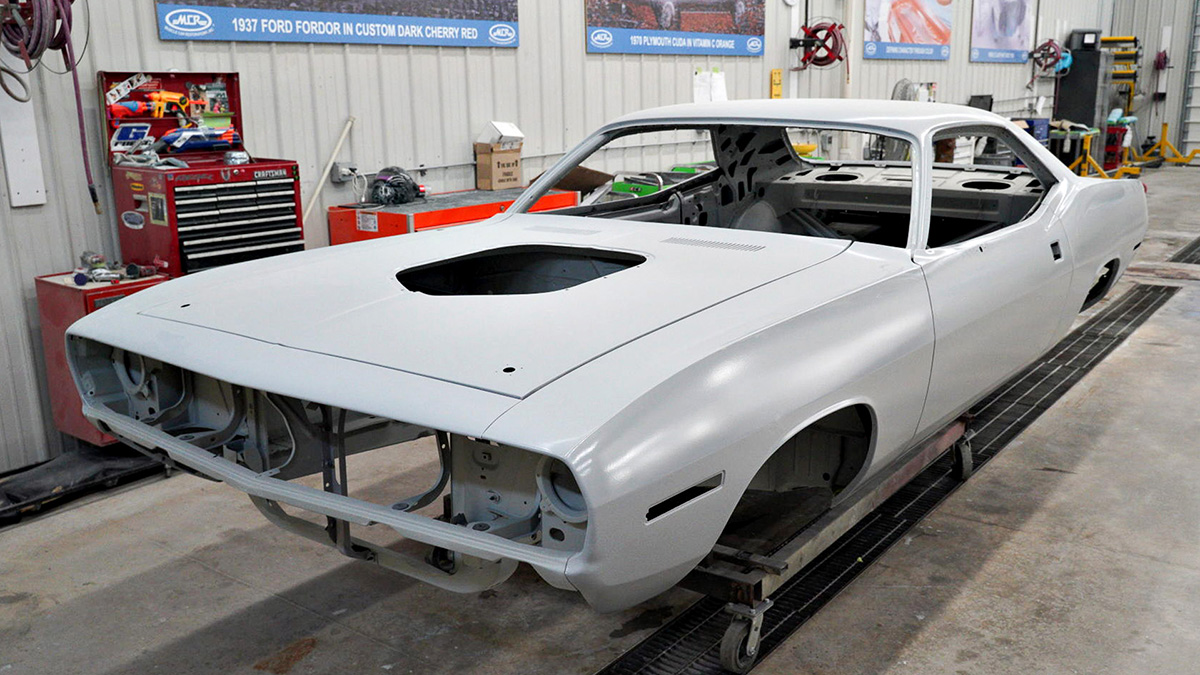
The process starts with hand DA sanding all the panels to remove any manufacturer’s e-coat and to provide a good surface for the epoxy primer to grab onto. Priming happens right away after the metalwork is finished to prevent any rust from forming anywhere. The primer cures for about a week or so before the entire car is block-sanded to identify any high or low spots. If any corrective action needs to be taken, this is the time.
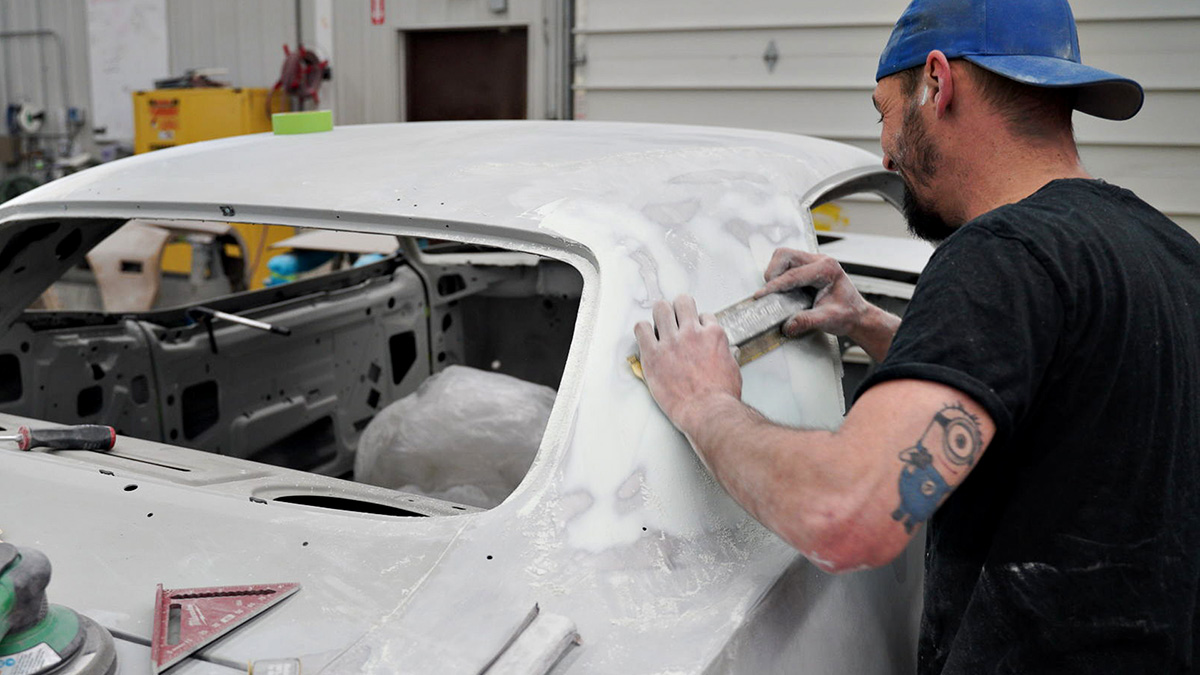
While this stage is often called “bodywork” that really is not a correct term as it brings to mind what is done in collision repair and that’s not at all what is done at MCR. Rather the entire car is skim coated with body filler and then the entire surface is block sanded to ensure that there are no high or low spots on any surface. Truth is, most of the filler material ends up on the floor and only enough remains to be sure the surfaces are absolutely flat.
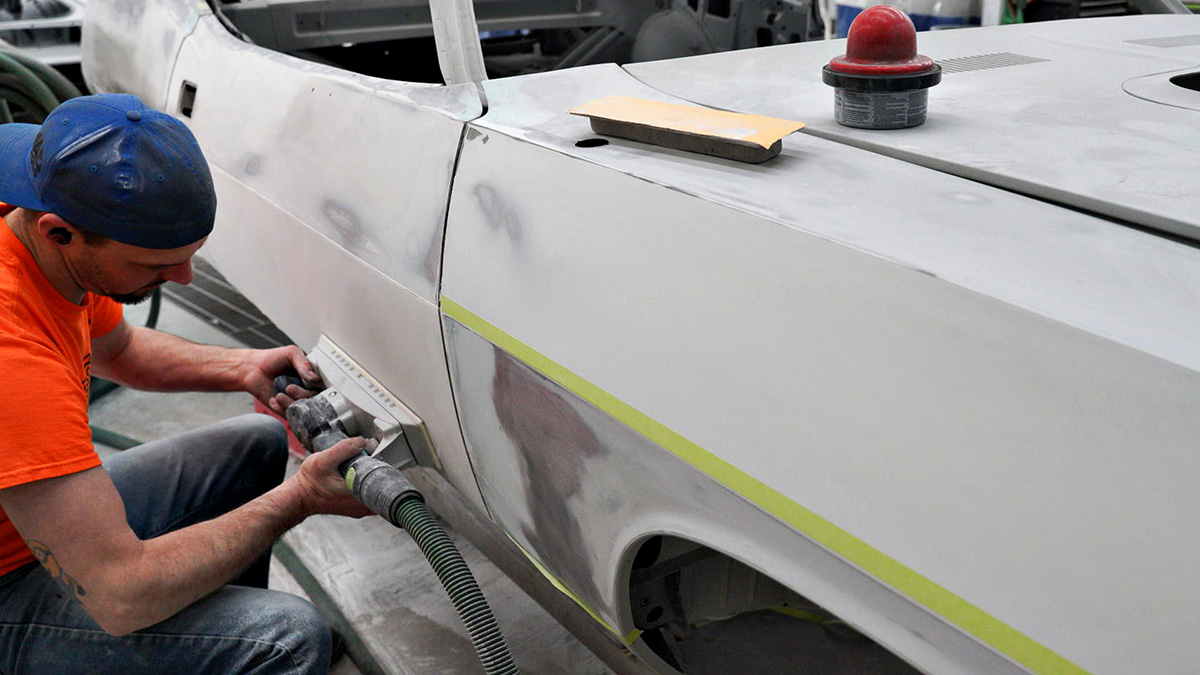
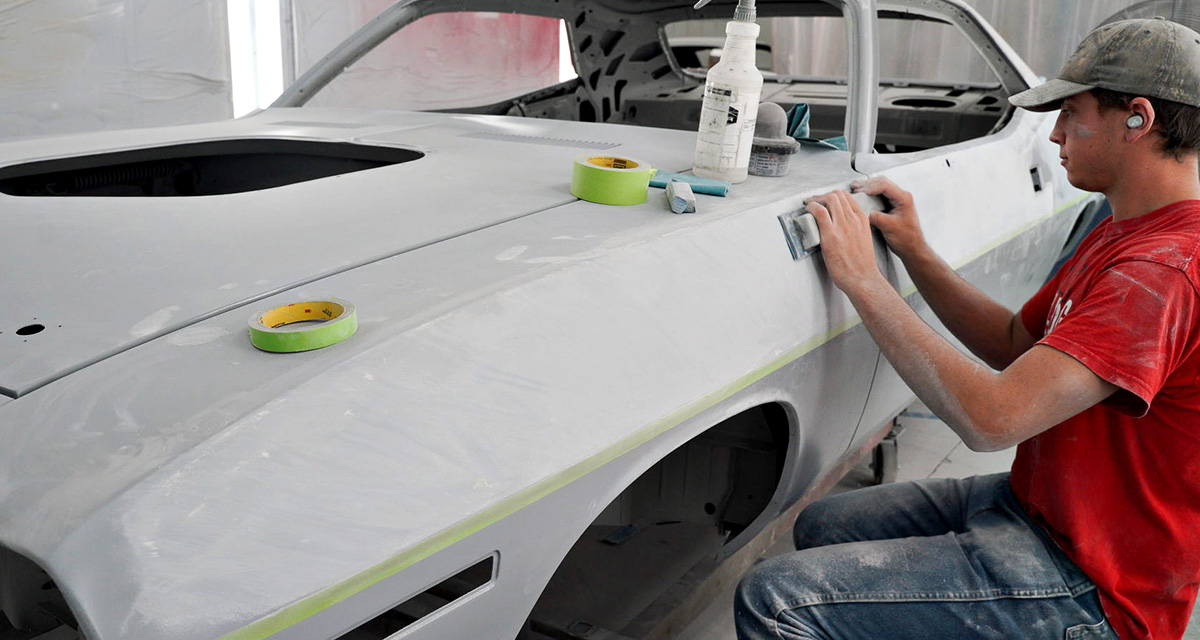
Rivaled only by the metalwork, the bodywork phase is the most labor-intensive part of the entire restoration because flawless paint can only be achieved on top of flawless body prep.
At various points along the way, as needed, darker guide coats are fogged onto the body while block sanding to aid in detecting any irregularities.
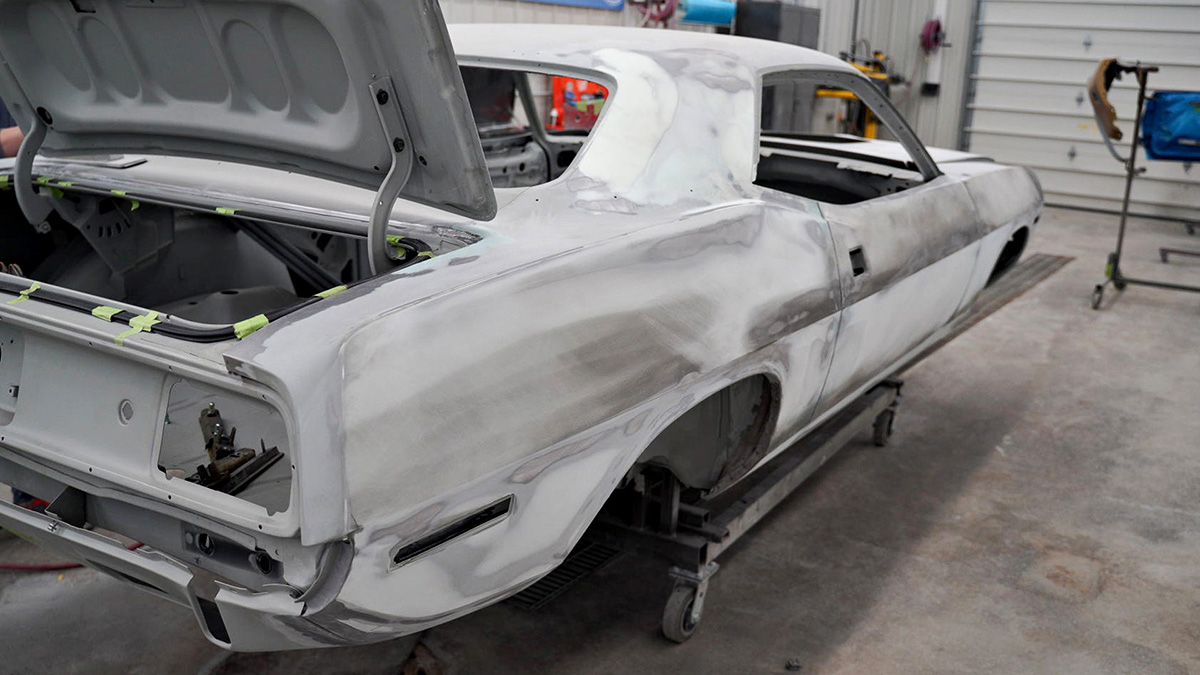
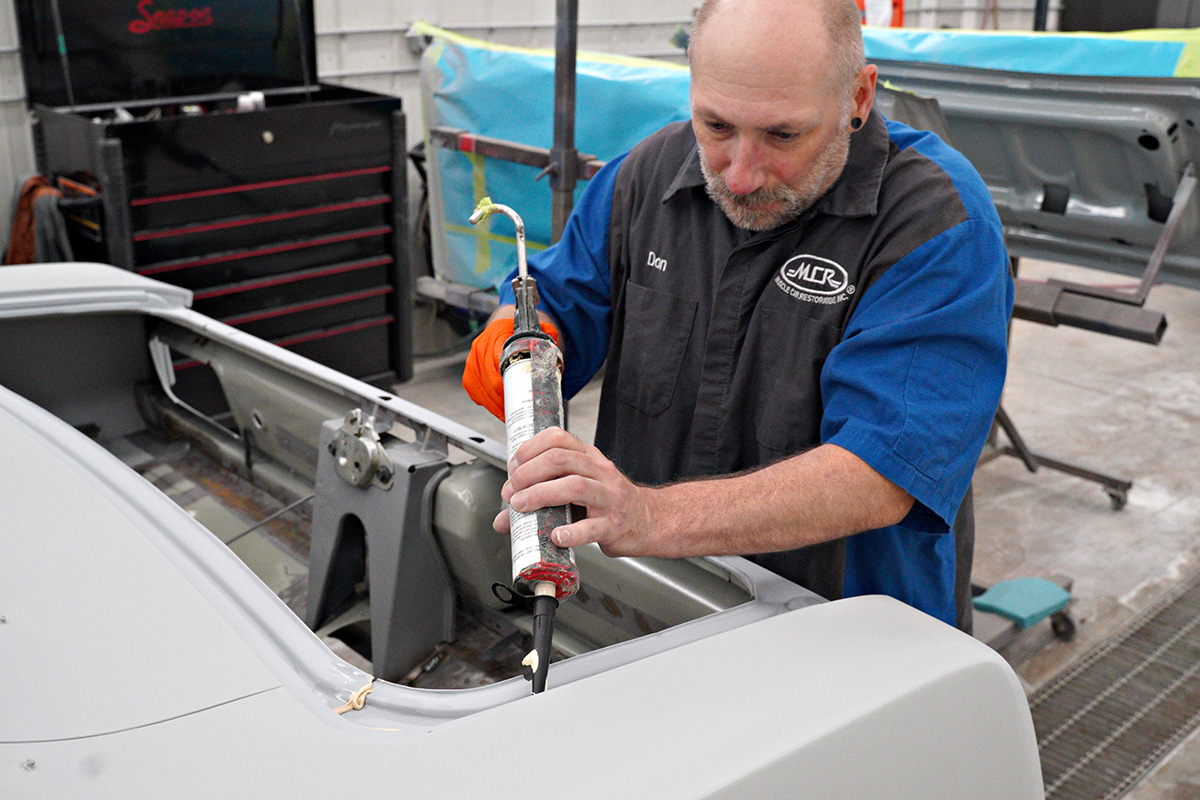
The next step is three coats of high-build PPG VP 2050 primer that is block sanded down to 320 grit to remove any orange peel. After which seam sealer is applied to all the factory locations around the body.
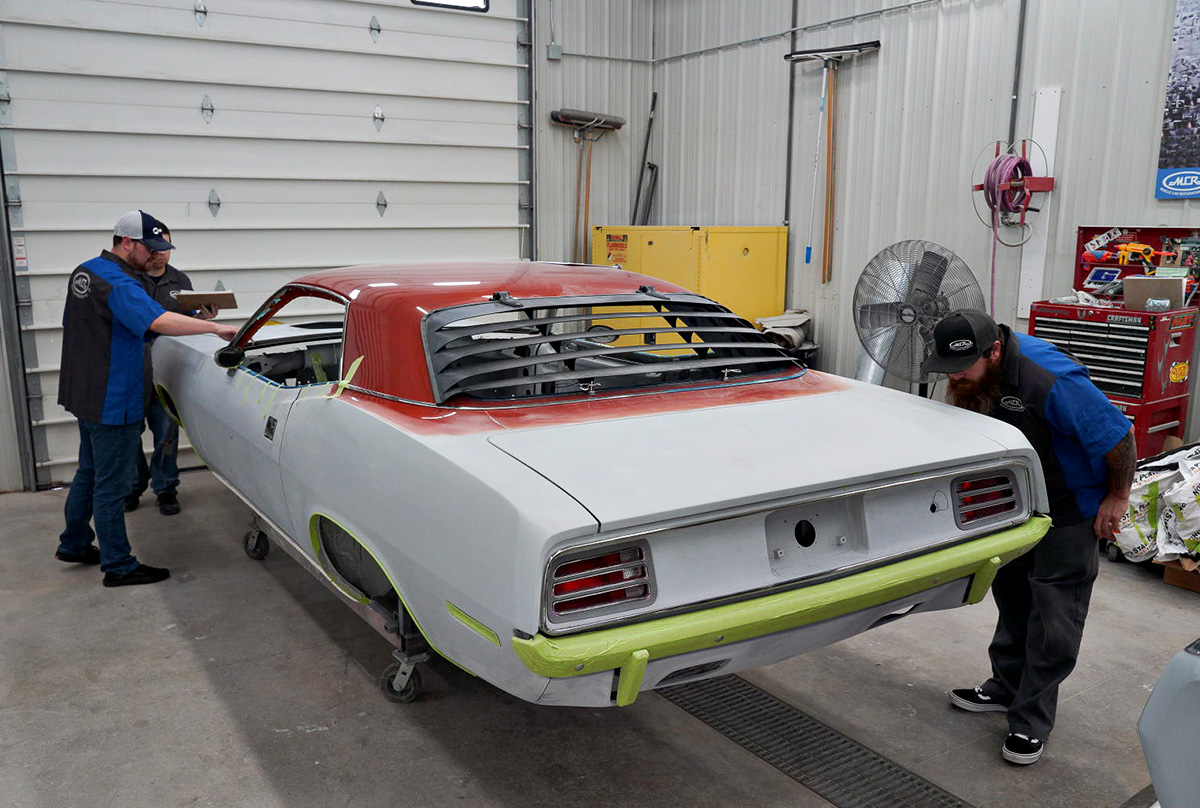
Not only must the bodywork be flawless, but everything must perfectly fit to the body after it is painted so MCR essentially assembles the exterior of the car while it is still in primer (and fixes would be relatively easy) to be absolutely certain that everything installs as it should. Each individual department manager from the metal shop, assembly building, paint shop, tech advisor and even the sales and general manager gets eyes on the mock-up to be sure that nothing is out of place.
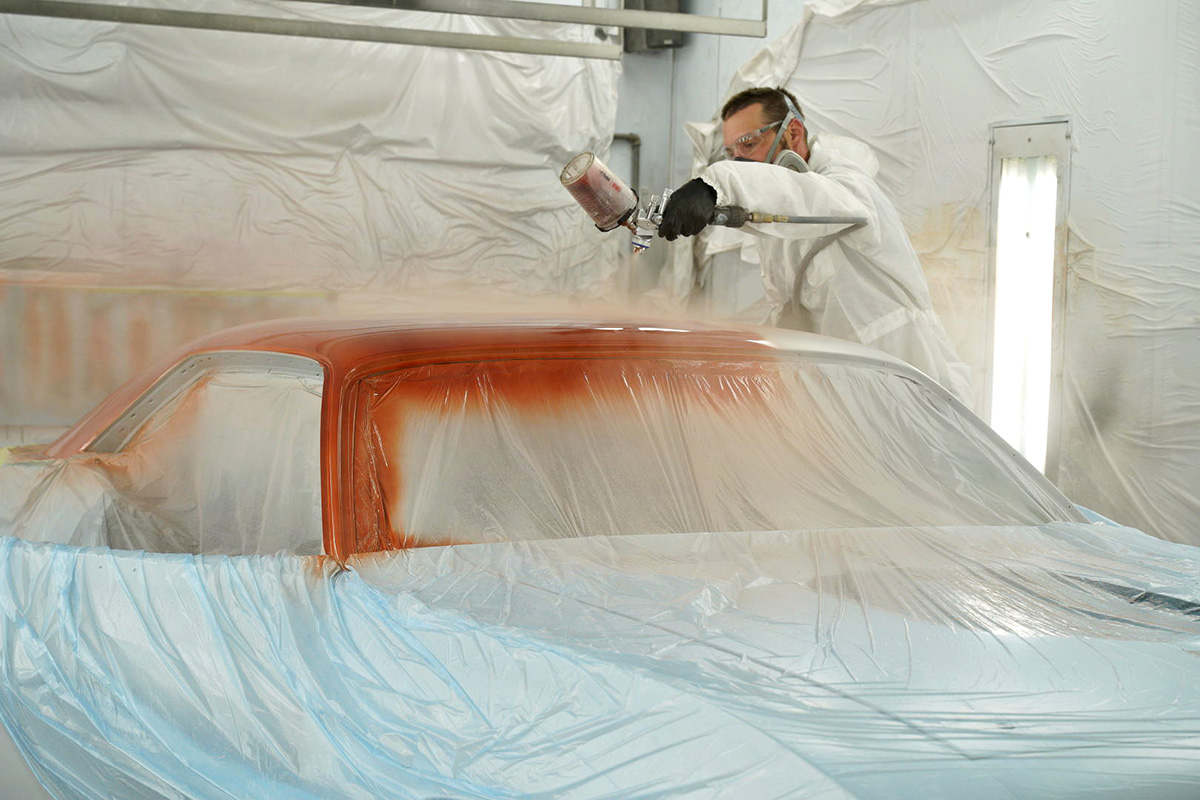
The final step is spraying a urethane sealer which when cured will be the last step before applying the color.